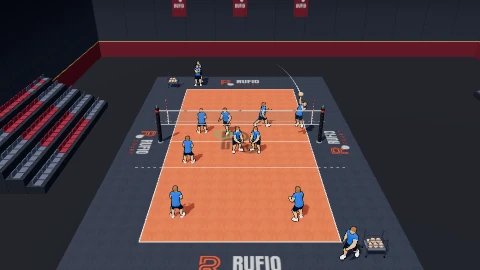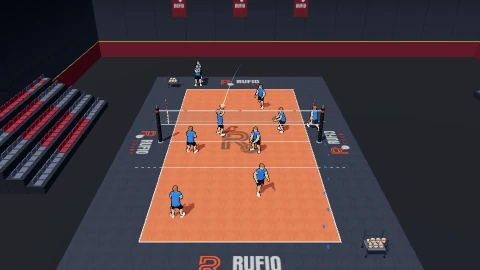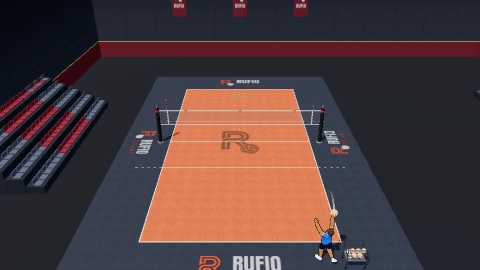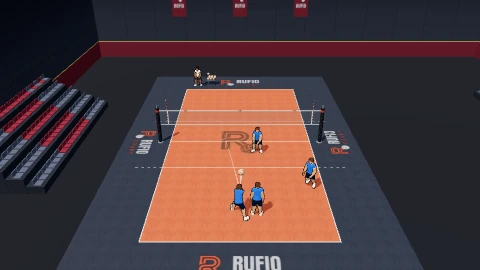
Jump serve build-up
Serving drill for 1 to 6 players. Focus: same toss, standing or jumping; approach starts slow; land inside the court.
What you need
- Players
- 1 to 6 players
- Time
- 10 to 15 min
- Level
- Advanced
- Equipment
- Balls, Ball cart, Tape, Target
- Ball fed by
- Not needed
- Space
- A full court
Setup
- One server behind the right end of the near end line, with a ball cart close by.
- A tape mark about 50 cm (20 in) behind the end line for the take-off spot.
- A target mat in the far deep left corner (zone 5).
- Other servers wait off court and take over after each stage.
How it runs
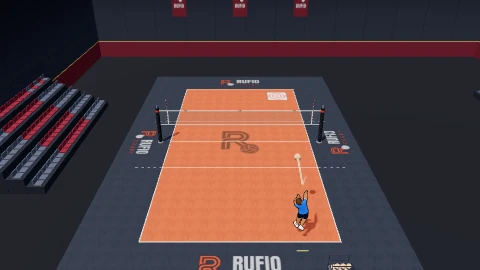
A server builds a jump serve in stages, all from the same spot behind the right end of the end line. Stage 1 is a standing serve to feel the toss and the wrist snap. Stage 2 is the approach on its own: no ball, a slow first step, a quick plant on the tape mark and a jump that lands inside the court. Stage 3 puts it together: toss, approach, jump and swing to the target. In practice each stage gets about five reps before moving on; the clip shows one of each.
Time and reps: 5 serves per stage, three stages a session, about 2 minutes of rest between stages.
Coaching points
- Toss the same way in every stage: in front of the hitting shoulder and slightly inside it.
- Start the approach slow and finish fast, planting on the tape mark.
- Meet the ball at full reach, arm long, wrist snapping over the top.
- Leave the floor behind the end line and land inside the court after the contact.
- Only add speed in stage 3 once the toss and the plant are the same every time.
Ways to change it
- Put a landing mark inside the court to control how far the approach carries you.
- Serve stage 3 at a passer instead of a mat.
- Use a jump float in stage 3 for control before adding topspin.
Terms on this page
- Zones 1 to 6
- The six court spots, numbered from your own side facing the net. Zone 1 is back right, where the serve is hit from.
net 4 3 2 5 6 1 end line - Approach
- The steps a hitter takes before jumping: a slow first step, then quicker steps into the jump.