Browse guides
Rufio Stats
- Getting started
- People and roles
- Device settings
- Team tracking settings
- Beach doubles (beta)
- Live tracking
- Tracking together
- When the connection drops
- Drafts and merging
- Film review
- Game film
- Recording games
- Stream a game to Facebook
- Stream a game to YouTube
- Tournaments
- Stats and dashboards
- Dashboards
- RufioStats for college & club programs
- The Practice tab
Team tracking settings
What gets tracked for a team, how the roster is shown, and how rotations are counted.
Where to find them
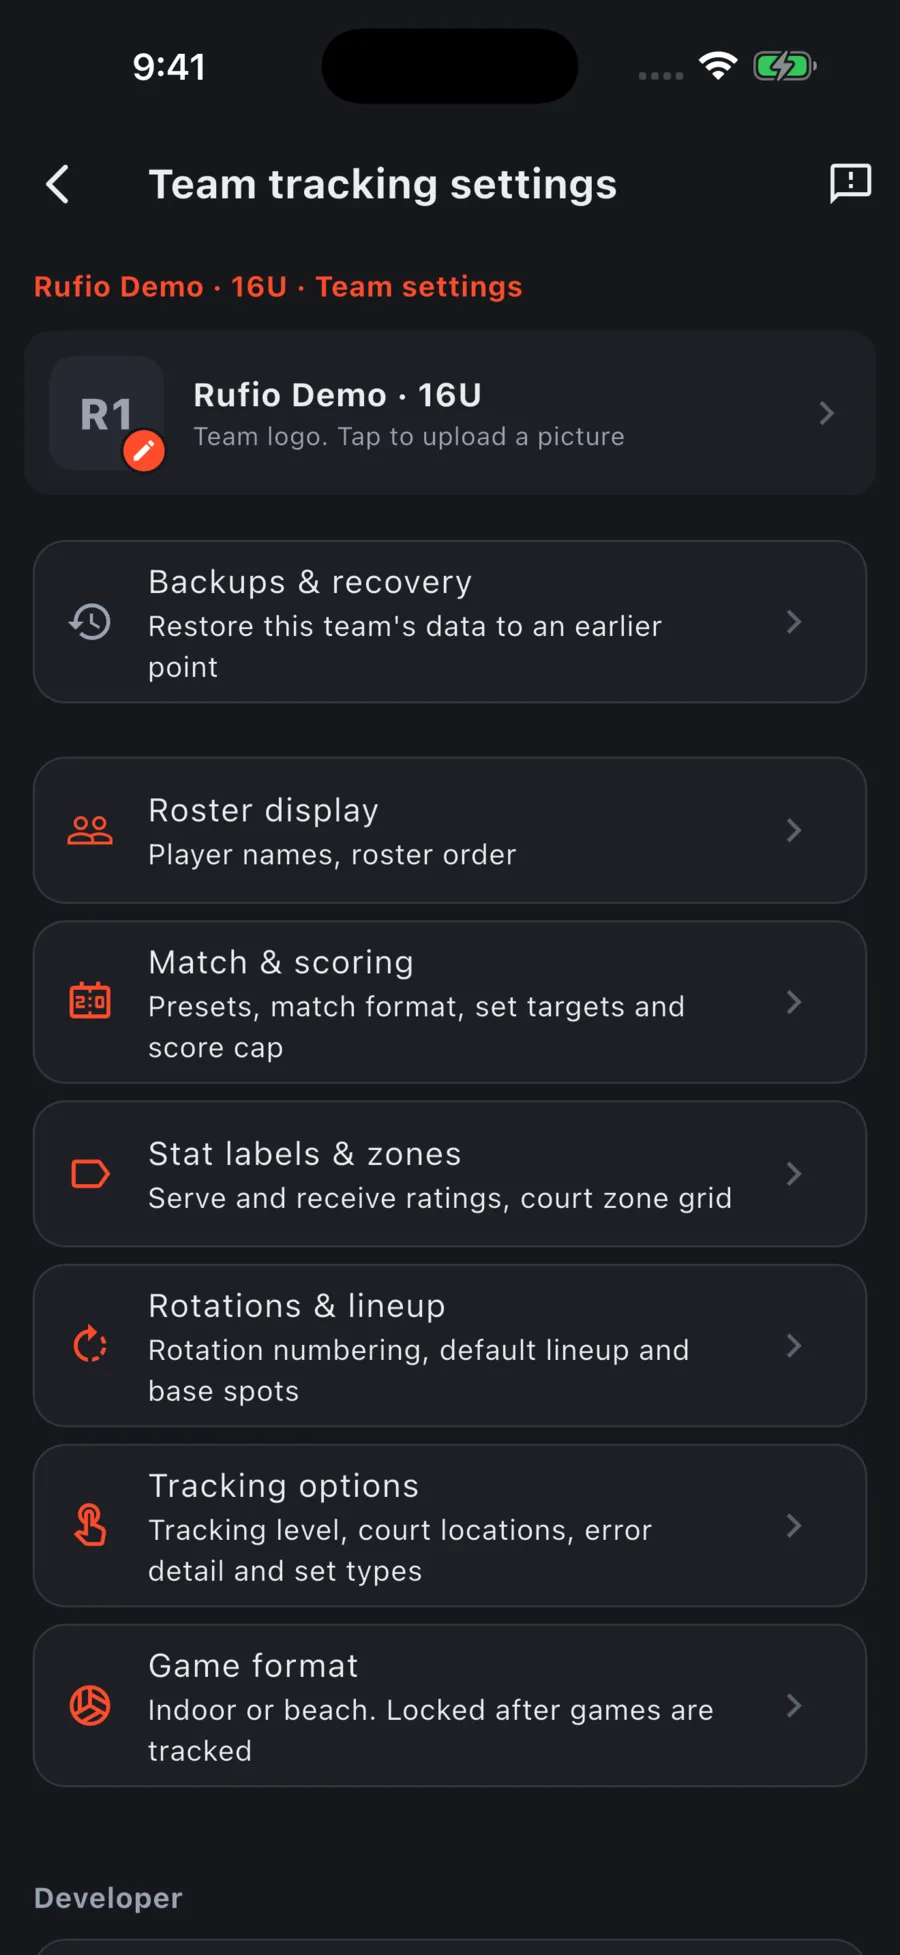
Tap the gear next to the team name, then Team tracking settings, or open Settings and choose Team tracking settings under the team name. Open a category such as Match & scoring, Stat labels & zones, or Tracking options. Shared rules apply to everyone tracking this team. Roster order and rotation numbering can differ on each device. Helpers without roster access see the settings read-only.
Roster display
Sort players by controls the order of player tiles on the live screen. Court position (the default) lays the six on the court out in rotation slots with the bench below. Base position sorts by where they actually play after the serve. Hybrid (a beta) starts each rally where your players actually stand and follows them as the rally goes on; see Hybrid arrangements. Jersey number, Name, and Position are plain lists. Player names picks how names are shortened on tiles.
Hybrid arrangements
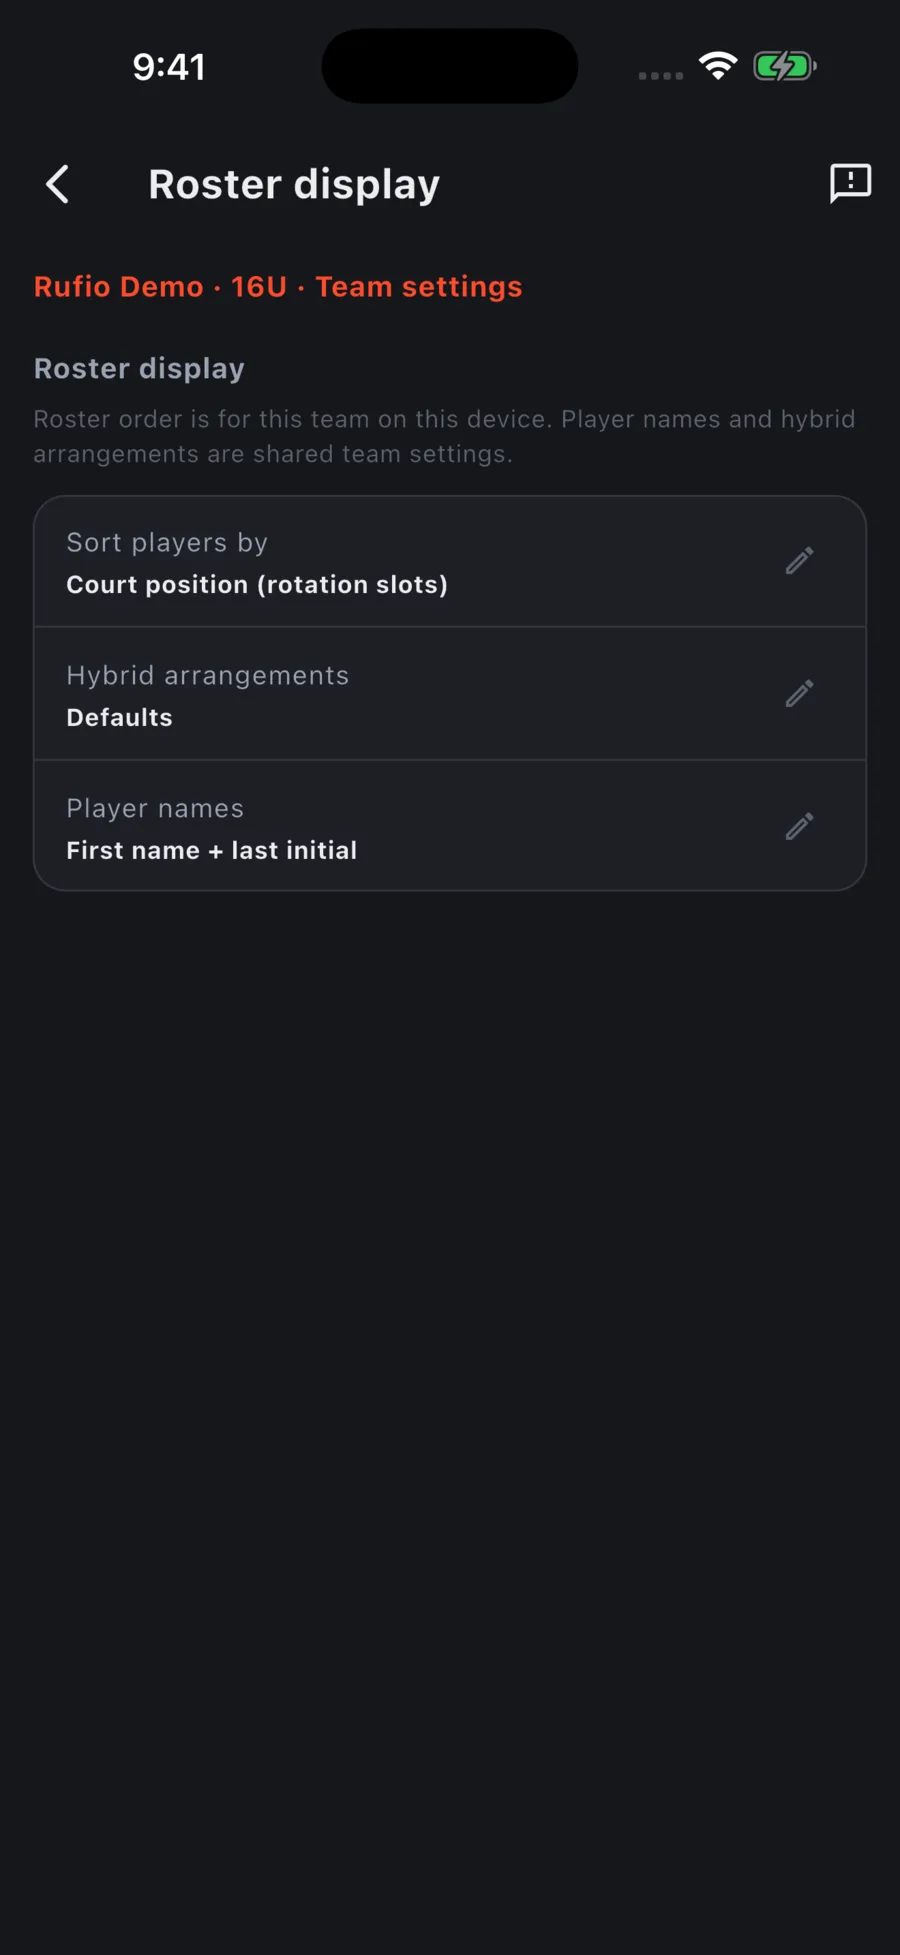
The Hybrid sort uses three arrangements for each rotation. Serve is where everyone stands while you serve. Serve receive is your passing formation while they serve, and it holds through the pass and the set. Transition is where they play once your first ball goes back over the net, for the rest of the rally. Anything you leave alone follows the textbook 5-1 pattern.
- Open Hybrid arrangements under Roster display in Team tracking settings, or tap Customize beside Hybrid in the Sort players by list.
- Pick the rotation from the R1 to R6 row under the rotation name, then Serve, Serve receive, or Transition.
- Tap a spot on the court, then the player who stands there. The full roster sits beside the court, so you can also tap a bench player or a libero to plan who is on court in that rotation, for example a defensive specialist in, or either libero in the back row.
- After a change of personnel, APPLY TO offers This rotation or All back-row rotations, so one tap puts the same player in everywhere that spot is in the back row.
- The PRESETS beside the court put a phase back to its default: Rotation spots for Serve, Suggested for Serve receive, and Switch to base or Stay in rotation spots for Transition. Reset rotation clears this rotation.
The players come from your Default lineup (below). Until you set one, positions stand in for players. Who is on court in each rotation also drives the live sub and libero prompts. Use custom arrangements at the top switches the whole thing off without losing it, and Clear all… in its menu puts every default back.
Match and scoring
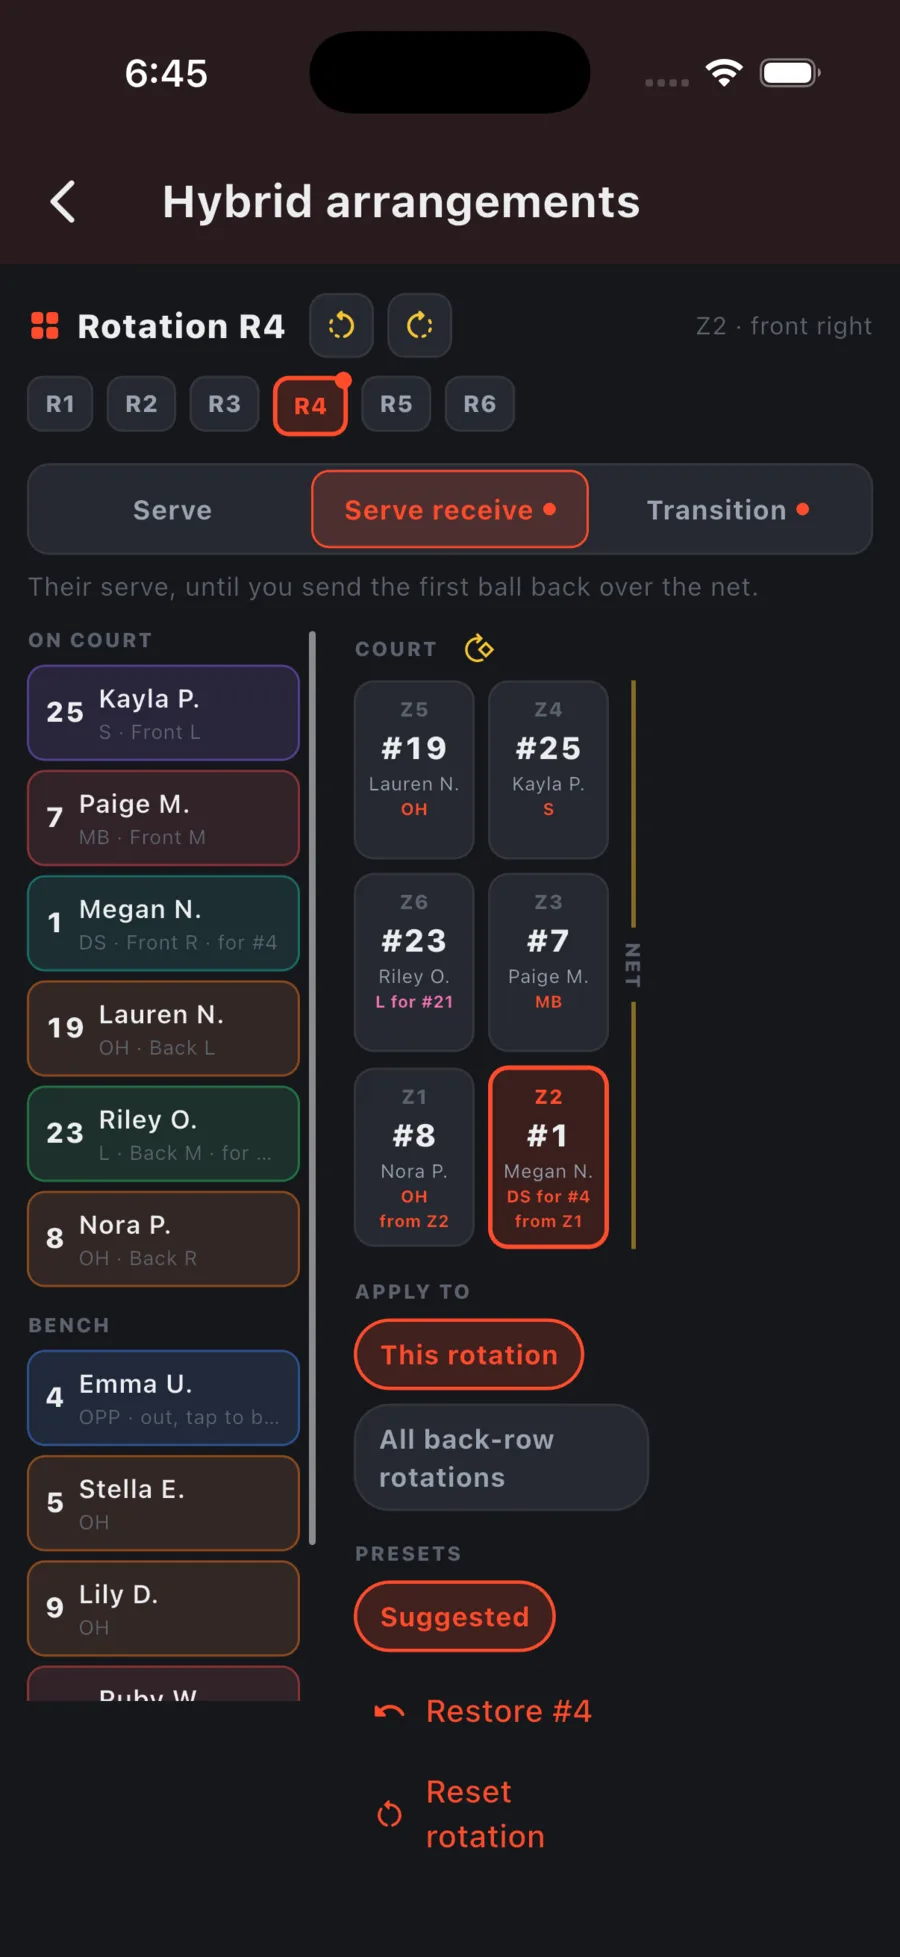
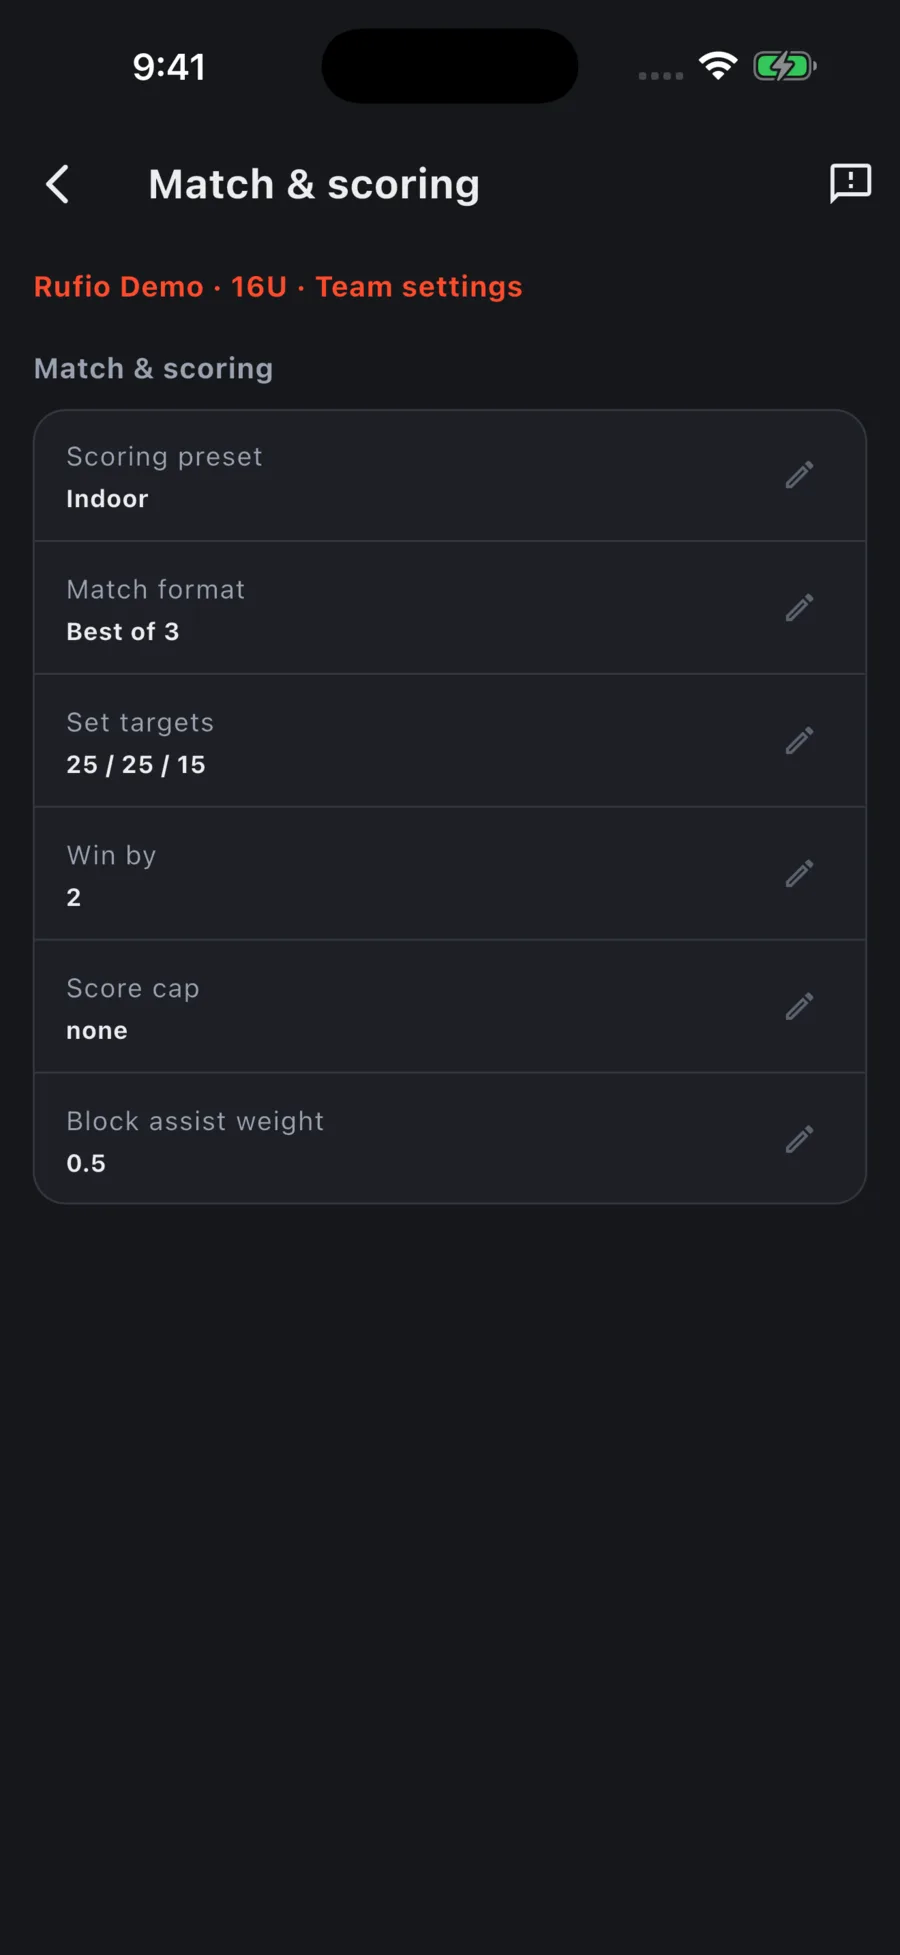
- Match format: Best of 3 or Best of 5. You can still add a set during a match if it goes longer.
- Set targets, Win by, Score cap: points to win a set, the margin needed, and the cap if you play one.
- Block assist weight: how much a block assist counts toward a player's block total.
Stat labels & zones
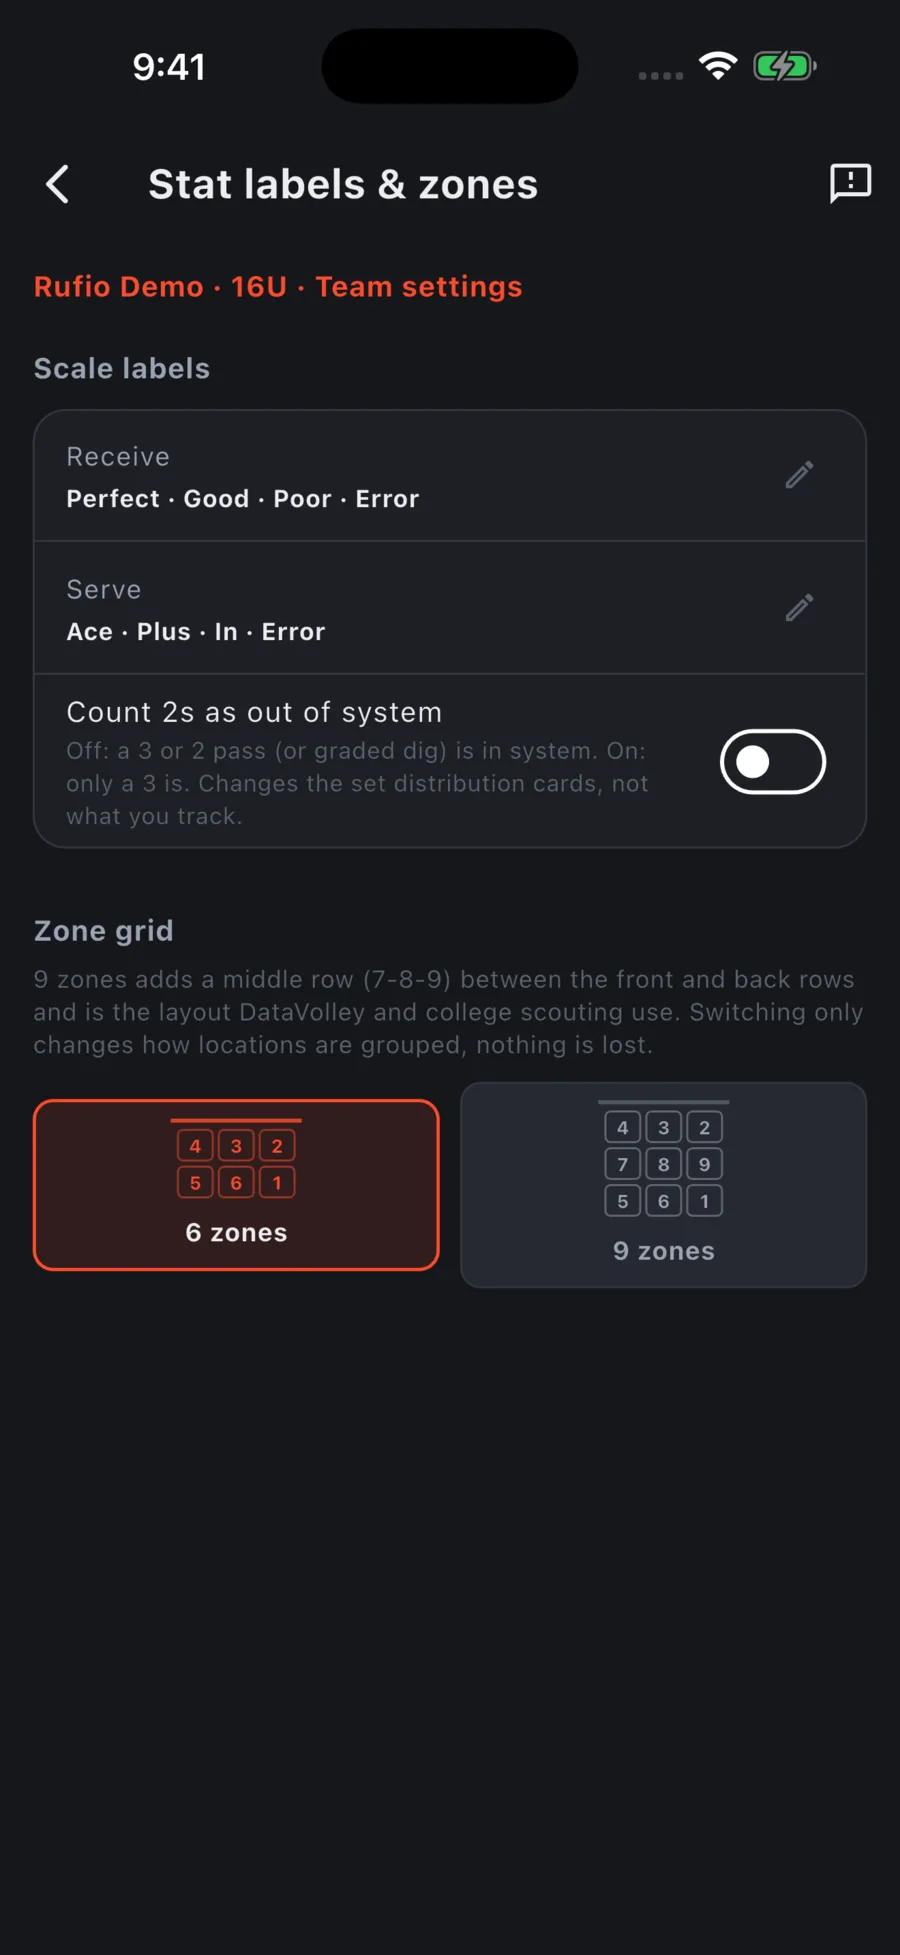
Open Team tracking settings → Stat labels & zones to rename the ratings or change the court grid.
- Scale labels: rename the 3 / 2 / 1 / 0 ratings for serve receive and serve.
- Count 2s as out of system: off by default, under Scale labels. Off, a 3 or 2 pass (or graded dig) is in system; on, only a 3 is. It changes the set distribution cards, not what you track.
Rotation numbering
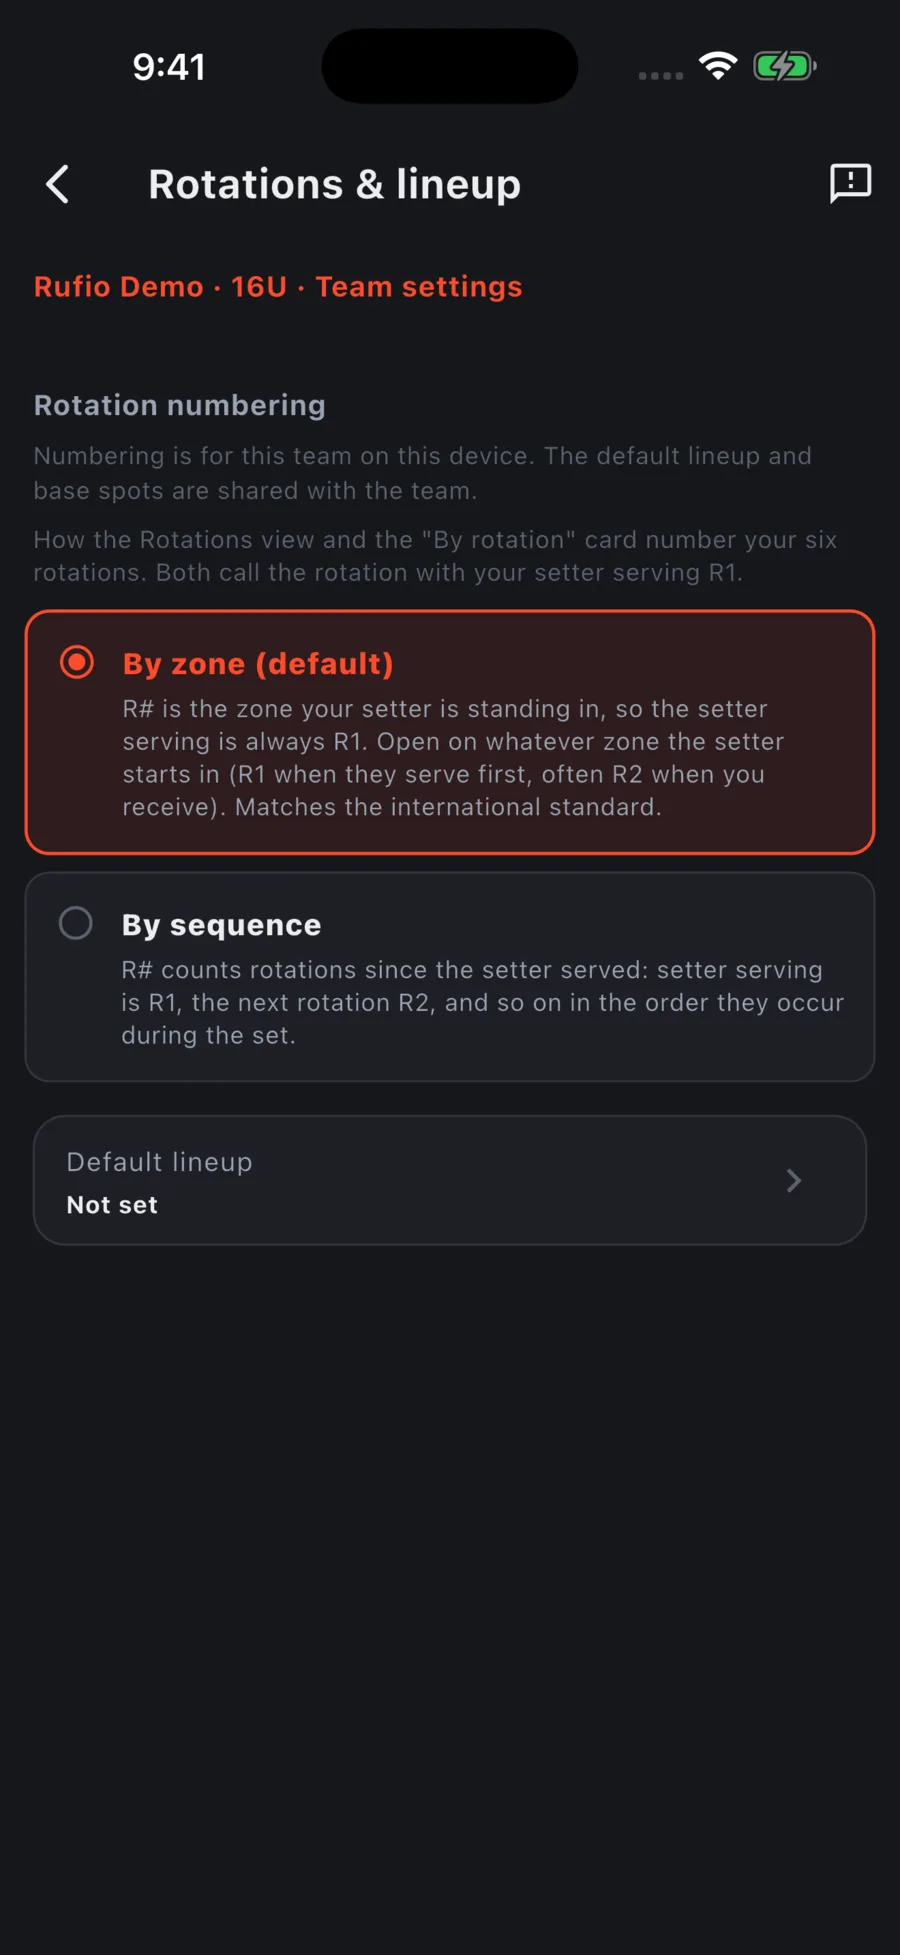
Both options call the rotation with your setter serving R1. By zone (the default) numbers rotations by where the setter is standing, so the setter serving is always R1. You open on whatever zone the setter starts in (R1 when they serve first, often R2 when you receive), which matches the international standard. By sequence counts rotations since the setter served.
A 6-2 needs nothing special: R1 is anchored on the first setter to serve. Two liberos are handled on the roster; mark the second one and the live screen offers LIB SWP to exchange them.
Right under Rotation numbering, Default lineup holds your usual six, your libero or two, and where your setter starts. Set 1 of every game offers this lineup, turned to your starting rotation. Select a slot, then tap a player; long-press a slot to empty it. With all six in and a setter among them, SETTER STARTS under the court turns the six for you. Its R pills are laid out like the court, each one in the zone the setter stands in for that rotation.
Below it, STARTING ROTATIONS has two court-shaped pickers: Start serving in and Start receiving in. Pick the rotation you open in for each; Use standard puts them back. With two setters (6-2) only three of the six can open a set, and for the others the second setter starts in that zone instead.
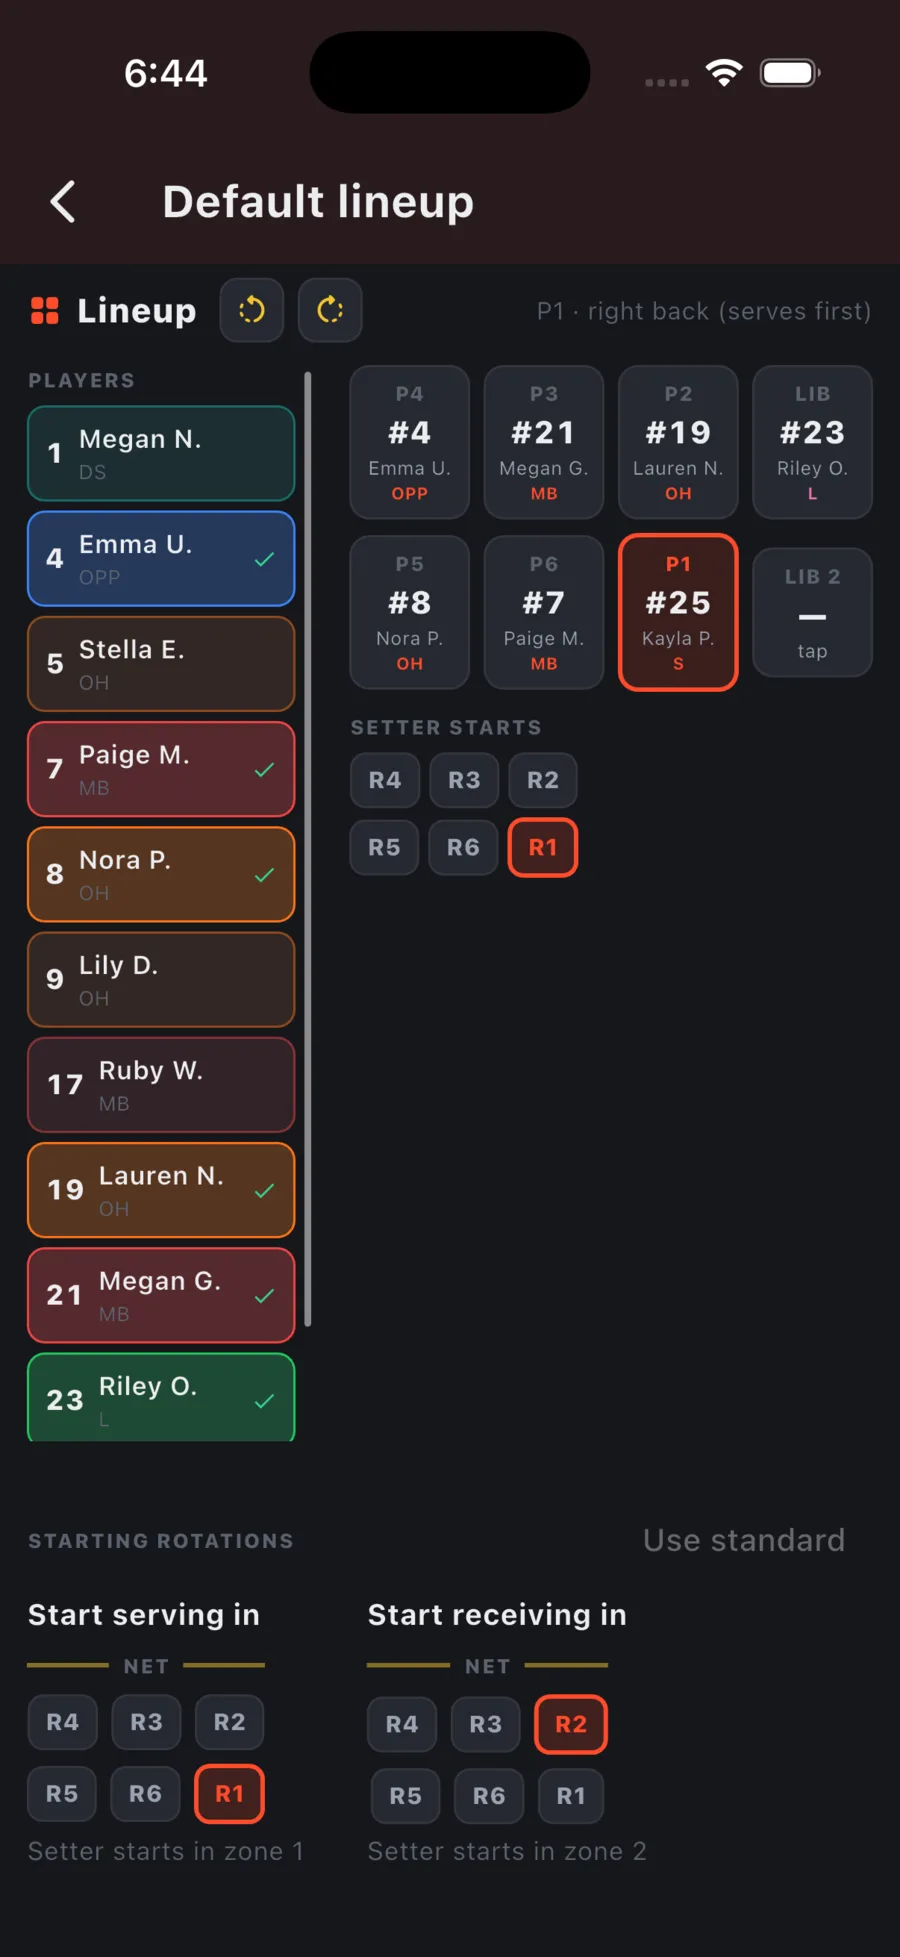
If a player in your default lineup leaves the roster, the page names them and set 1 offers your last lineup until you pick someone else. Rotation plan & hybrid arrangements at the bottom opens the per-rotation plan described above.
Tracking options
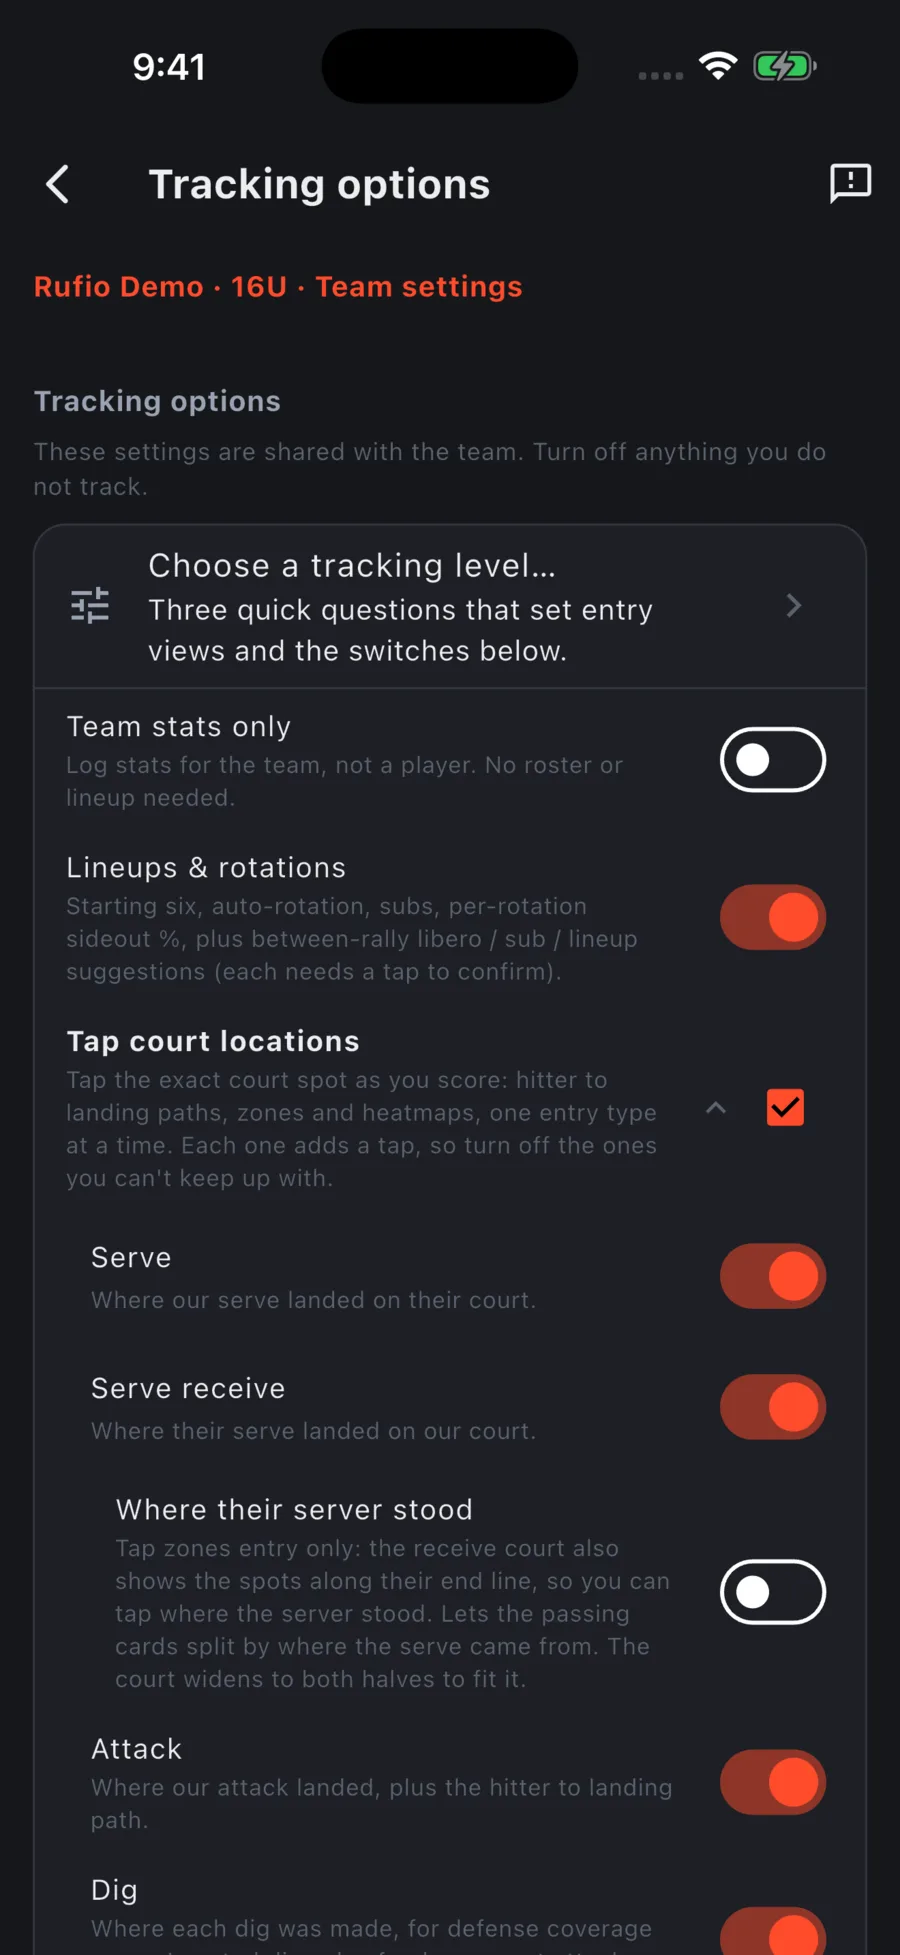
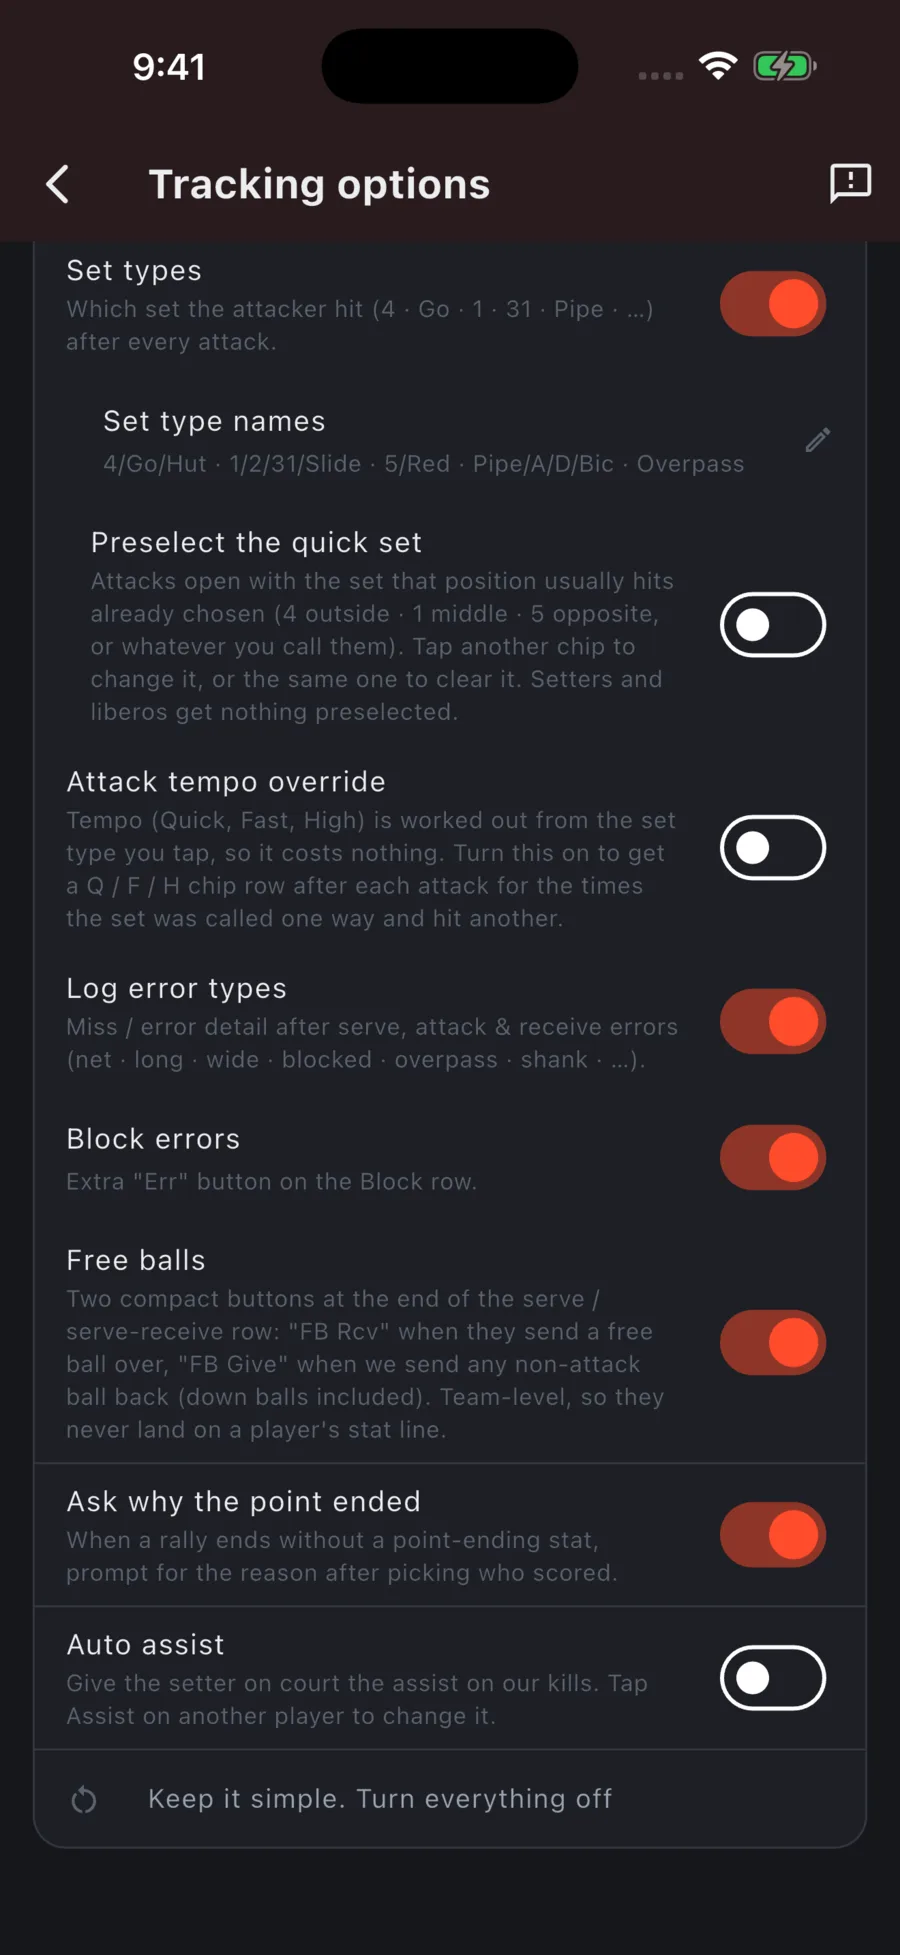
Most of these are on by default. Each option adds a small, skippable step during live entry, so turn off what this team does not track, and turn on the two opt-in ones if you want the extra detail.
| Option | What it adds |
|---|---|
| Team stats only | Every stat lands on the team, not a player. No player picking, and no roster or lineup needed. Turns off Lineups & rotations and Blockers faced below while it is on. A team-level setting shared by every device tracking this team, and stamped on each game when it is created, so games made before you turned it on keep their own per-player stats. |
| Lineups & rotations | Starting six, automatic rotation, subs, per-rotation sideout %, and between-rally suggestions for libero swaps and subs. |
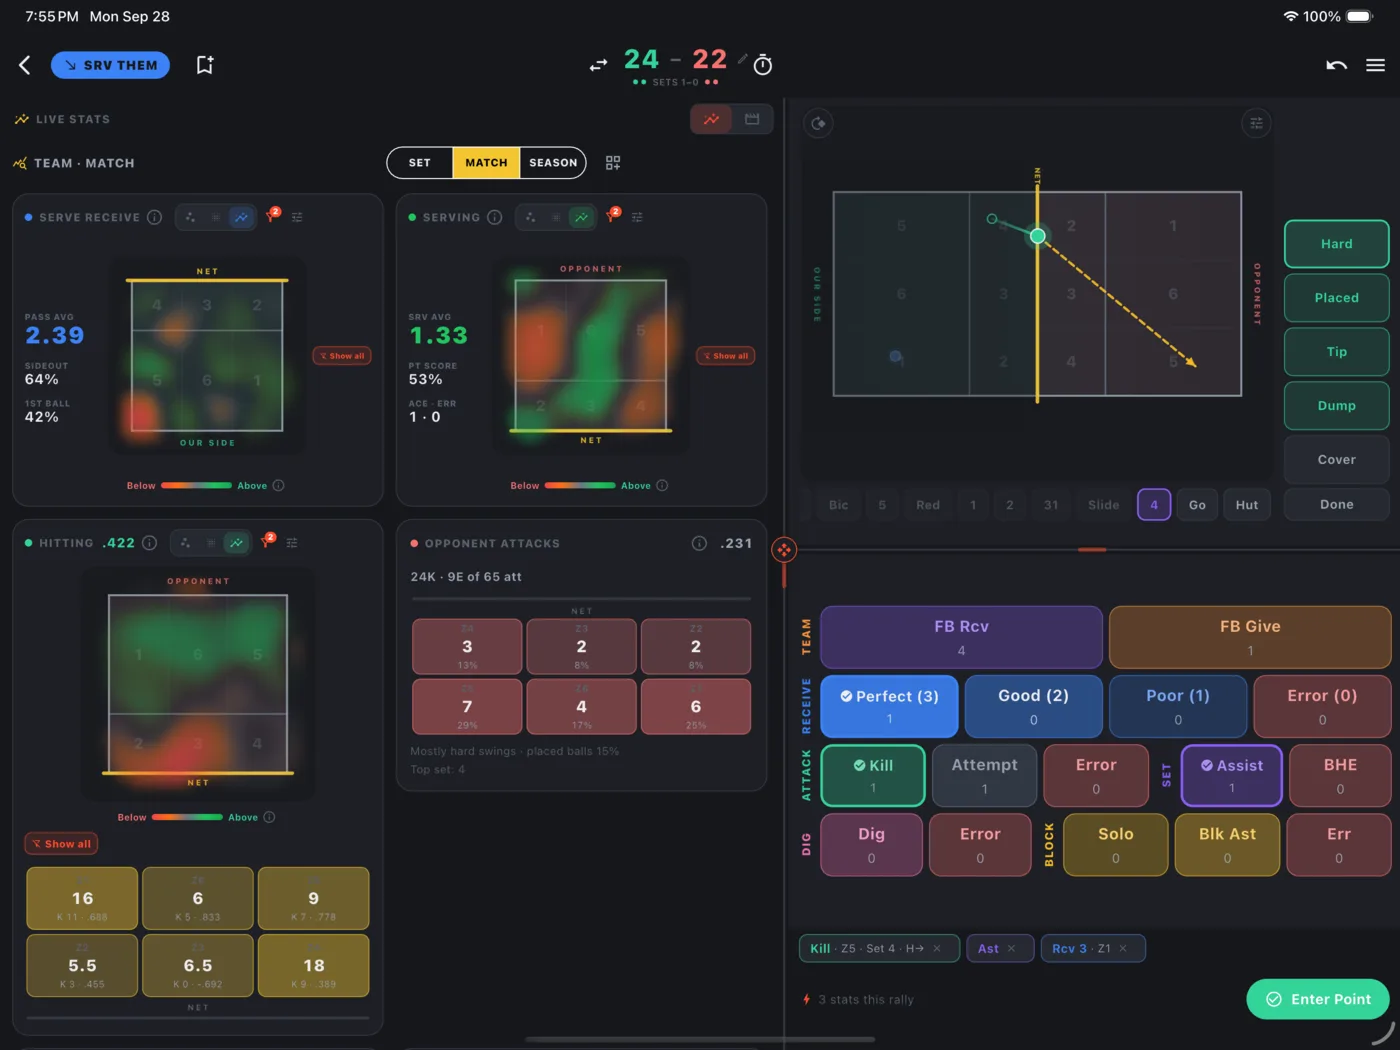
| Tap court locations | A court tap for Serve, Serve receive, Attack, Dig, and Block, one at a time. Feeds the maps and heatmaps. Turn it off and the stats still record, without a location. |
| Zone grid | Choose 6 zones (this app's original layout) or 9 zones (the layout DataVolley and college scouting use, with a middle row added between the front and back rows). A team-wide setting under Team tracking settings → Stat labels & zones. Switching only changes how the same locations are grouped and read on the maps and reports below, nothing already tracked is lost. Indoor teams only: a beach court has no 10 foot line, so a beach team is always read in the 9 cell grid and this section is not shown. See Beach doubles. |
| Smart court entry | On by default, and only does anything with at least one court location above turned on. Reads the paths you draw: logs an attack or serve error when the ball lands out, lights the likely set type from where the swing came from, and lets you draw before tapping a stat. Turn it off to go back to tapping the player, the stat, then the court. |
| Called serve zones | Call the zone the server is aiming at before the serve. Shared with every device on the match. Chips run 1-6, or 1-9 with the 9-zone grid (below). |
| Serve type | Off by default. Tag each serve Float, Jump Float, Jump Spin, or Topspin, plus a Let toggle for one that clips the tape and goes over. Tracks your serves and, on serve receive, records what the other team served. Opens on whatever that server last used, and adds a By type line to the serve and serve receive maps. |
| Attack types | Hard / Placed / Tip / Dump beside the court on attacks. Draw a second path off a blocked ball to record the block touch. |
| Default to Hard | On by default, under Attack types. Attacks, digs and blocks open with Hard already picked, so you only tap the shot when it was Placed, a Tip or a Dump. Tap the picked shot again to clear it. |
| Blockers faced | Off by default. After an attack, tap how many opponent blockers were up: 0, 1, 2, or 3. Starts on 2, so you only tap it when the block was different. |
| Set types | 4 / Go / 1 / 31 / Pipe and so on after every attack, plus Overpass. The chips run most-likely-last, so the sets a position usually hits sit at the thumb end and the rare ones are dimmed. Rename them under Set type names, where you can also give each name a tempo: Quick, Fast or High. With the tempo buttons on, picking a set type then selects its tempo for you. |
| Preselect the quick set | Off by default, under Set types. An attack opens with the set that position usually hits already chosen: 4 outside, 1 middle, 5 opposite. Tap another chip to change it, or the same one to clear it. |
| Attack tempo override | Off by default, and needs Set types on. Tempo (Quick, Fast, High) is already worked out from the set that was called. This adds a Q / F / H row after each attack for the times the set was called one way and hit another. Tapping one does not finish the attack, so you can still pick the shot. |
| Log error types | Net, long, wide, blocked, shank, and so on after an error. |
| Block errors | An extra Err button on the Block row. |
| Dig quality | Off by default, nested under the Dig court location. Grade each dig 3, 2 or 1 on the same scale as a pass: 3 perfect, 2 playable, 1 just kept alive. It sits beside the set chips, or above Done when set types are off. Done saves a dig ungraded. |
| Where their server stood | Off by default, nested under the Receive court location, and only does anything with Tap zones entry. The serve receive court also shows the spots along their end line, so you can tap where the server stood. The passing cards can then split by where the serve came from. |
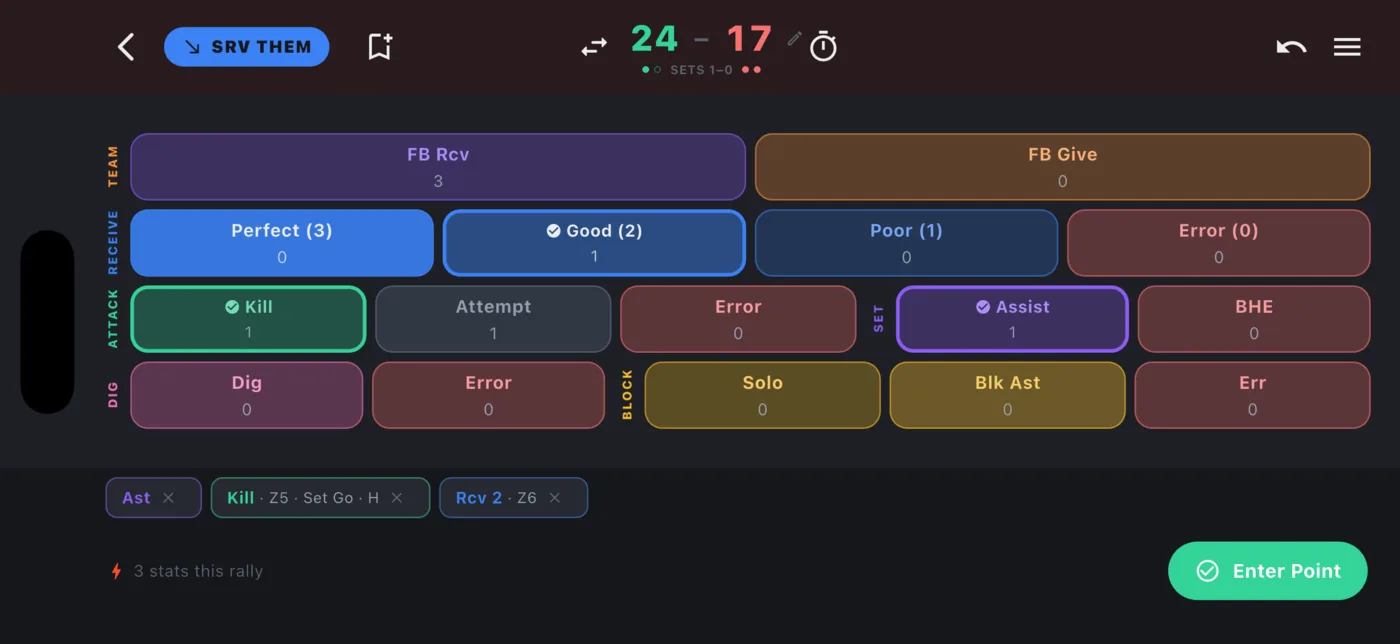
| Free balls | FB Rcv and FB Give buttons. Team-level; they never land on a player's line. Both always show, even when Attack or Dig is off in this device's Entry views. |
| Ask why the point ended | When a rally ends without a point-ending stat, ask for the reason after picking who scored. |
| Auto assist | Off by default. Our kills give the setter on court the assist. Tap Assist on another player to change it. |
Also on the team page
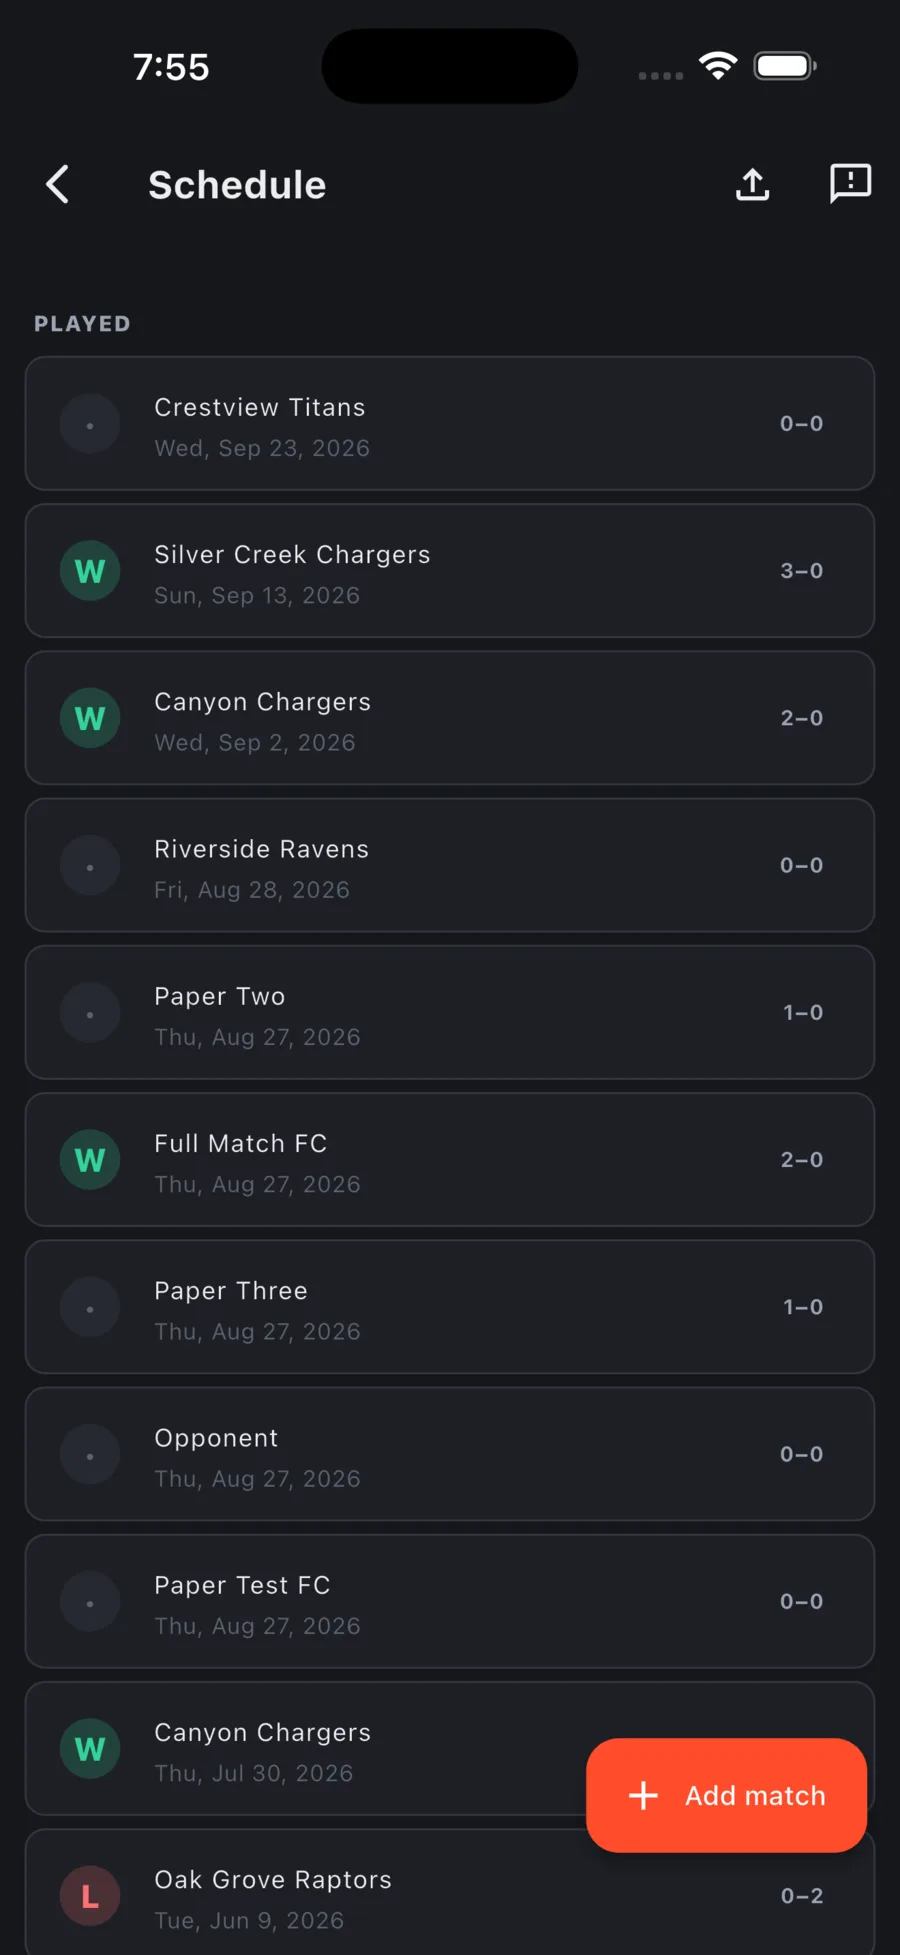
- Schedule: upcoming matches. Each one has Start tracking and an Open to helpers switch, which lets Helpers enter stats for it before it goes live.
- Backups & recovery: restore this team's data to an earlier point.
- Scouting: an opponent roster and reports, reachable from Scouting in the Games tab's ⋯ menu.